Configure load balanced gateway
Lightwing supports two kinds of load balanced gateways.
- ELB based gateway
- Instance based load balanced gateway
Add a new gateway
- Navigate to
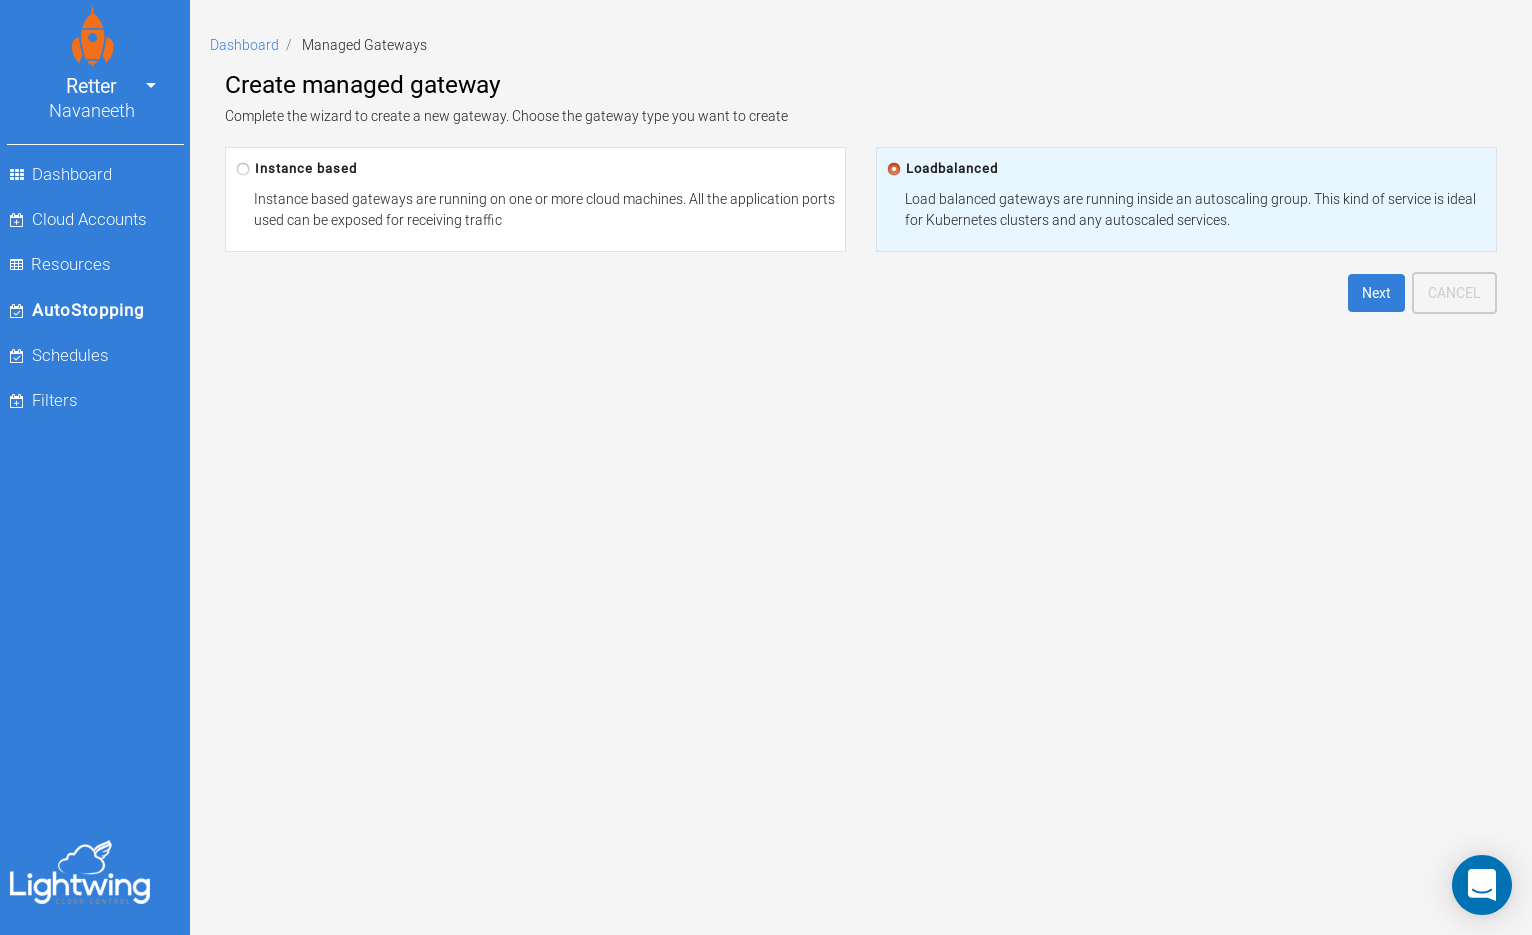
Autostoppingon the left menu - Click on
Add gatewaybutton - And choose
Loadbalanced - Click
Next
Configure gateway details
Name: Enter a DNS complaint name for the gateway. Name has to be unique among other gateways in the organizationPort: The port in which traffic will be receivedIdle time: Idle time in minutes. When lightwing detects no traffic for the idle time, it will stop the instance
ELB based gateway
In a ELB based gateway, lightwing will adjust the autoscaling group’s desired capacity when performing idle time optimization. When lightwing detects traffic, it will change the desired capacity to service the traffic.
- Choose ELB from
Loadbalancer field Scaling group name: Enter autoscaling group that ELB usesDesired capacity: Current desired capacity configured at the autoscaling groupLoadbalancer URL: without scheme (http/https)- Click on
Save gatewayto save the gateway configuration.
Instance based gateway
Instance based gateway configuration can be used when you have one or more instances that are acting as a loadbalancer. These instances will have a load balancer like HAProxy/Nginx installed to handle the traffic.
When configuring instance based load balanced gateway, lightwing will need to select two sets of resources, load balancers and cluster members.
-
Loadbalancer filter: Filter text to select resources which are loadbalancers. Lightwing will evaluate filter text and forward traffic to the matching instances -
Cluster members filter: Filter text used to select the cluster members -
Click on
Save gatewayto save the gateway configuration.